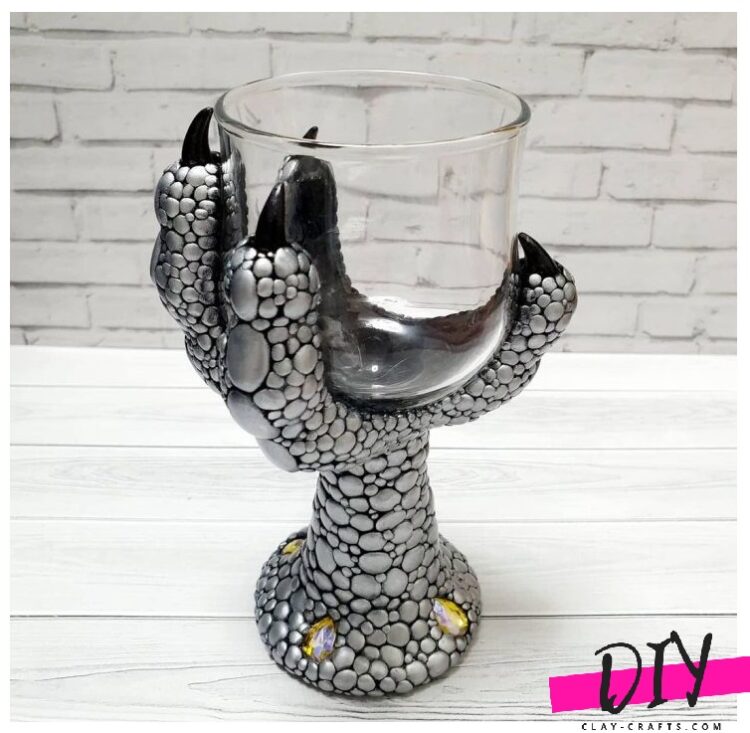
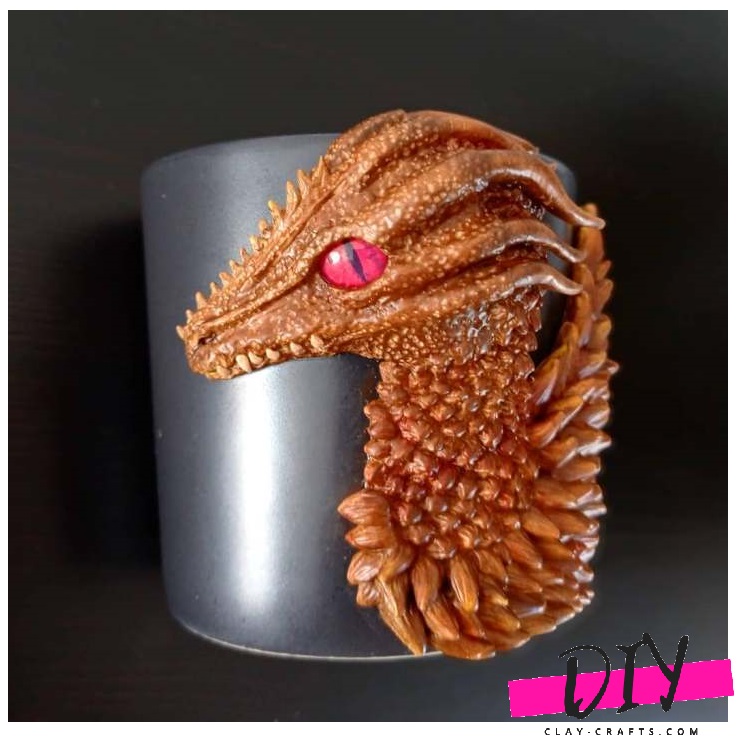
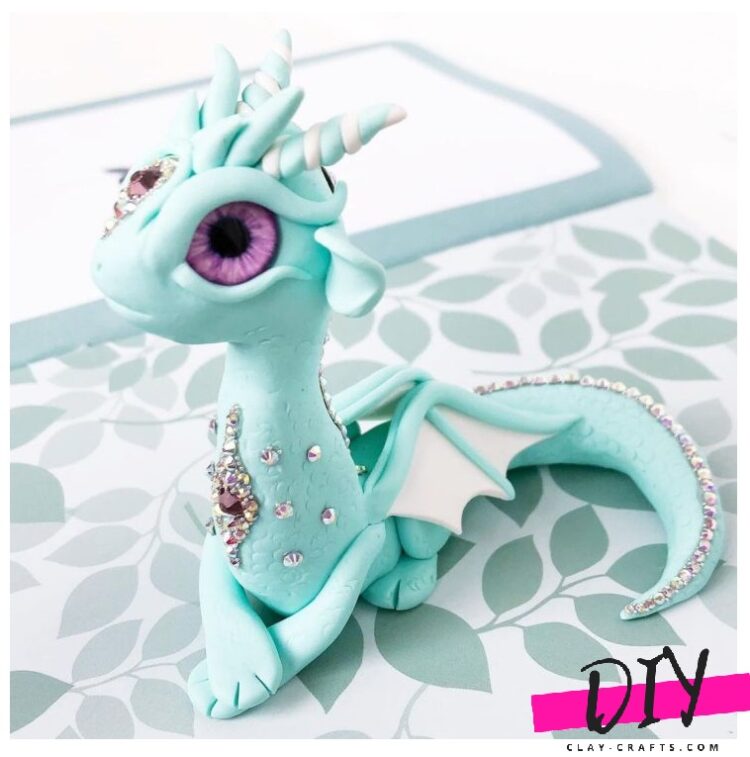
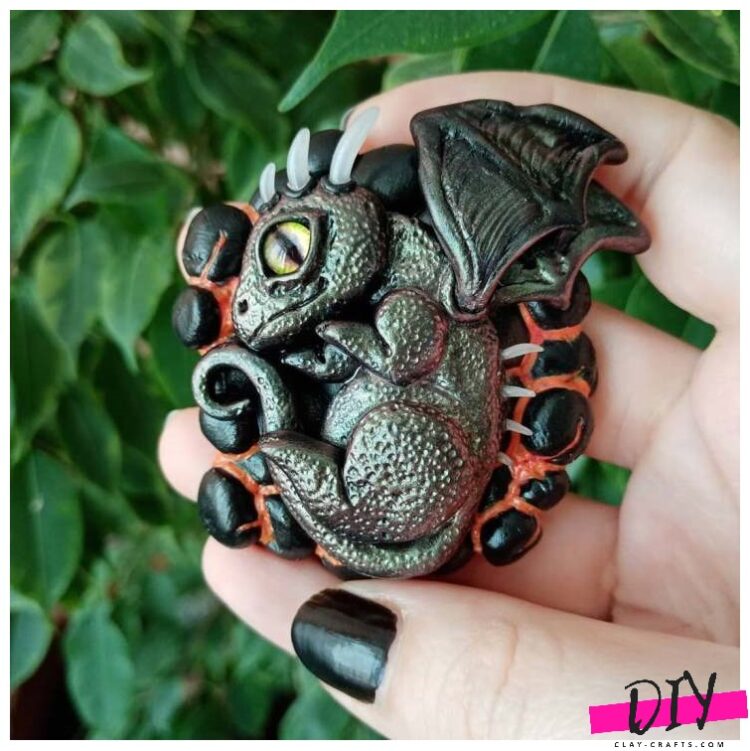
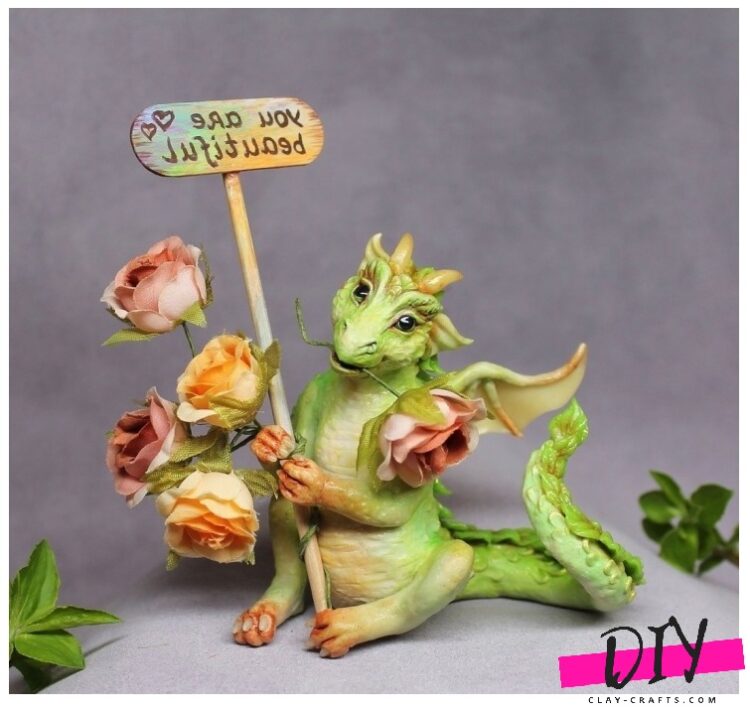
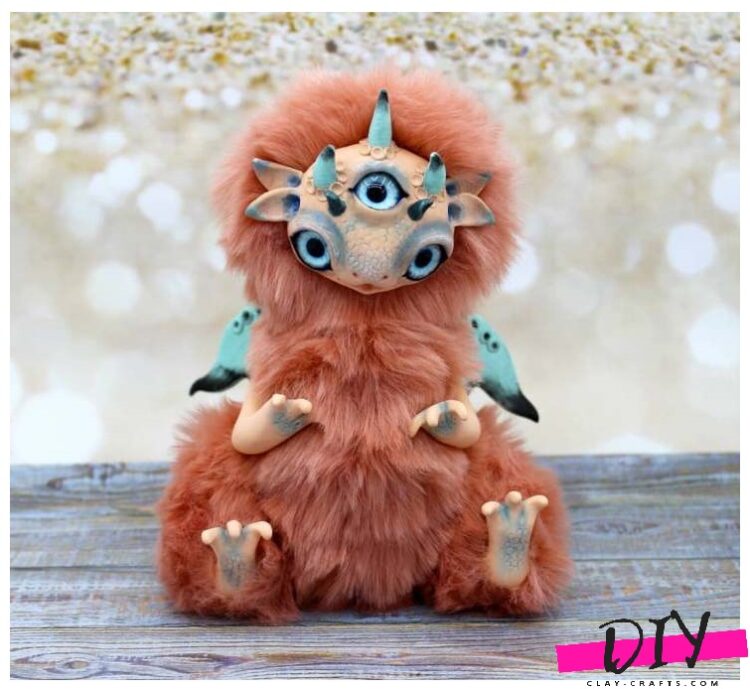
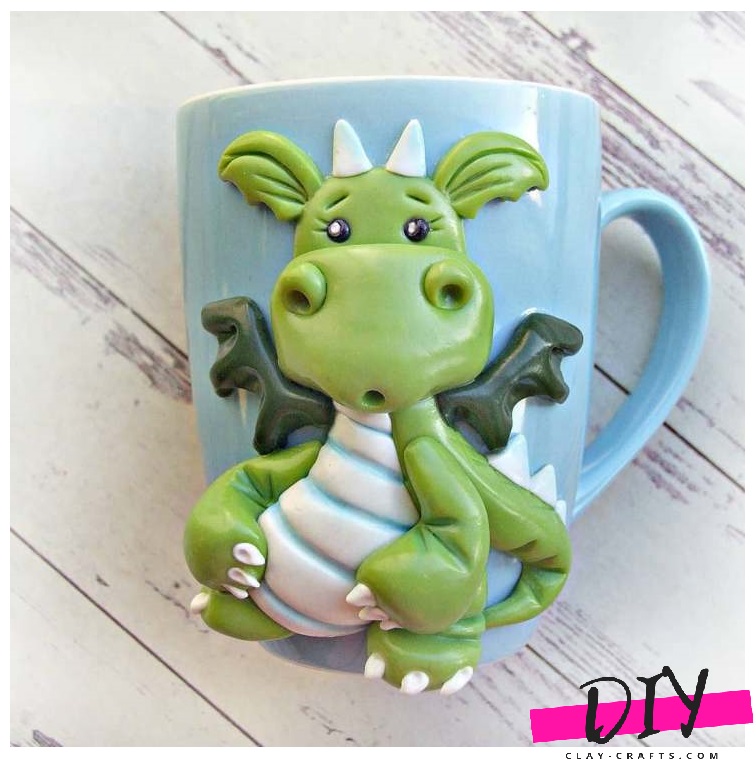
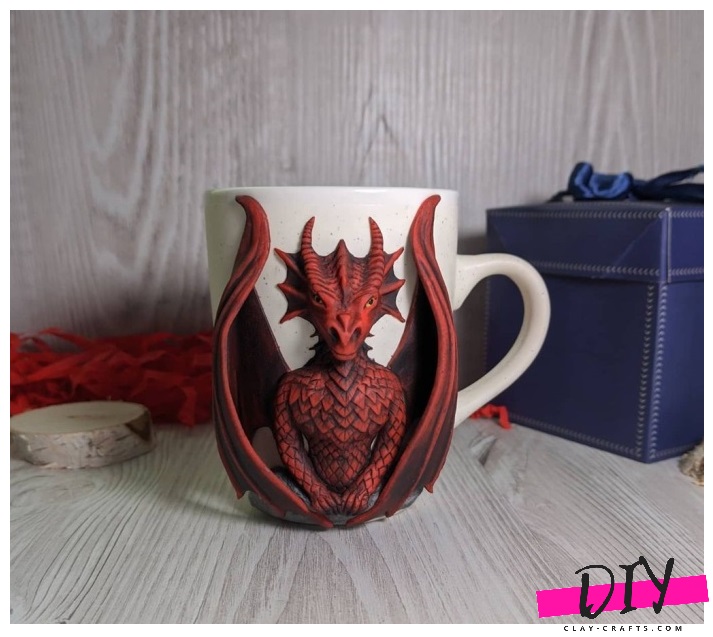
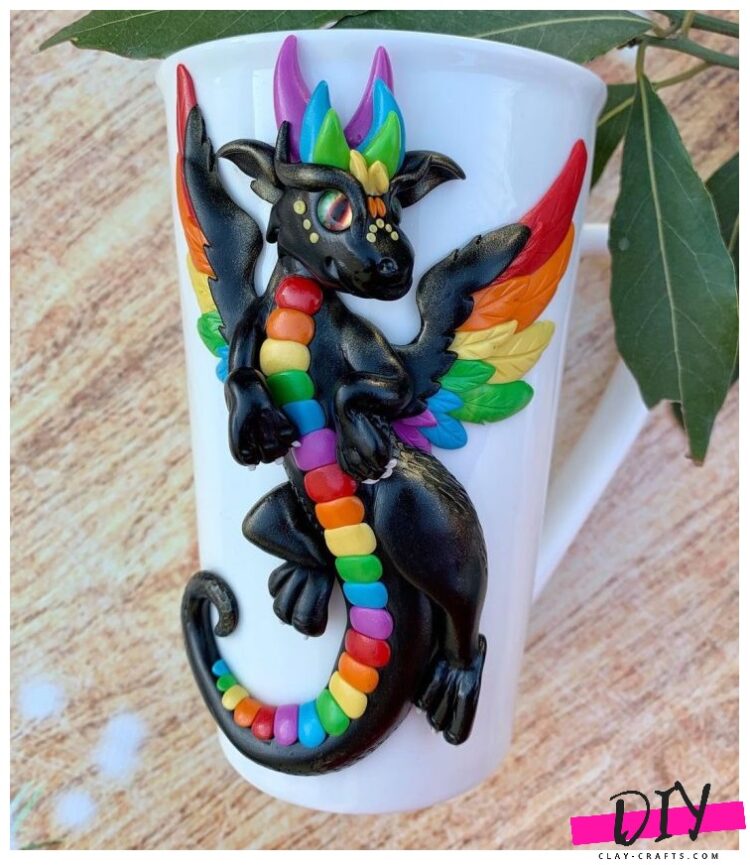
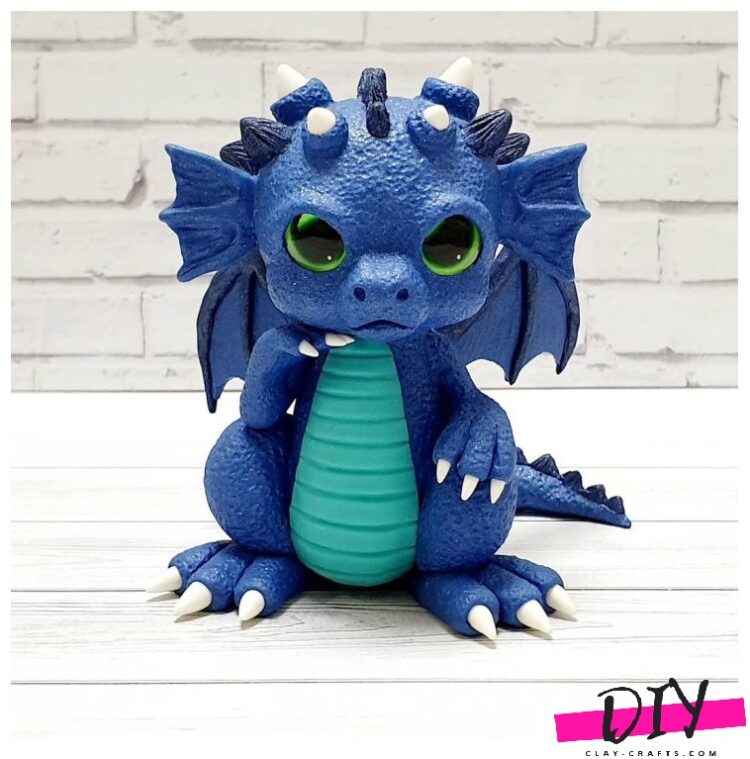
Cute dragons made of polymer clay can be in your collection of polymer clay figures if you take several colors of plastic and a couple of tools. The figurine is molded quite simply, after which it is baked at a temperature of 110-130 degrees for about half an hour.

Tools and materials for work
- Polymer clay in 4 colors: black, white, gray and yellow. Fimo Soft plastic is perfect for work.
- Toothpicks – 3 pcs.
- Metal stack with a ball d = 3-5 mm.
- Drop end plastic stack.
- Stack puncher.
- Plastic stack in the form of a knife.
In addition, you will need a flat surface, preferably heat-resistant, in order to bake the figurine directly on it.


How to sculpt a dragon in stages
- We start shaping the figure from the most massive part of it – the body. The body of the dragon is a truncated cone, which can be easily recreated by first rolling the ball and then stretching its upper part a little. To attach to the body of the head, insert a toothpick into its upper part.
- We sculpt the hind legs. The figurine will be seated, so we attach the legs to the sides of the body.
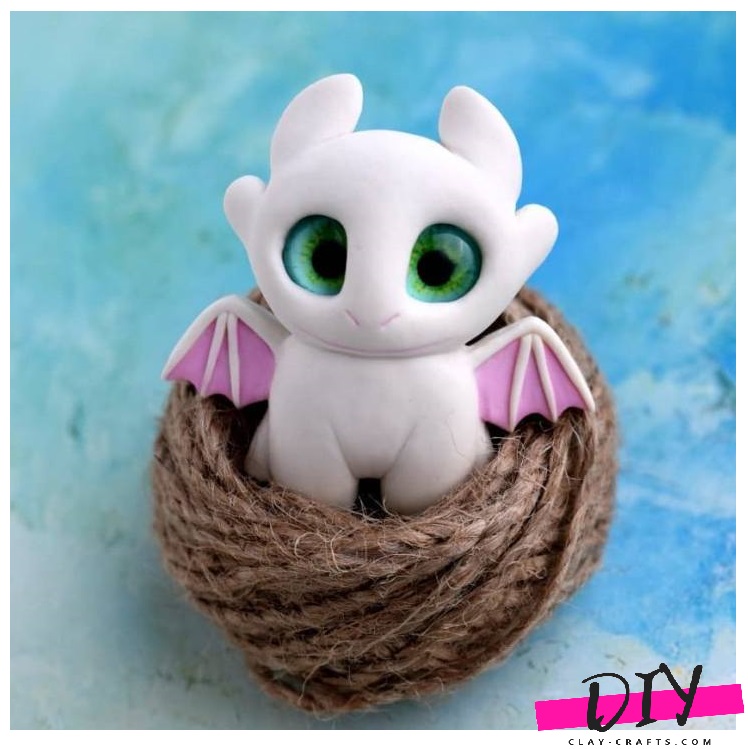
- The shape of the dragon’s head is not round. To do this, first roll the ball, then pull it out on both sides. With a metal stack with a ball-shaped end, we will make recesses in the place of which the eyes will be.
- We put our head on the body, placing it on a toothpick sticking out of its top.
- We blind the eyes from flattened balls of yellow clay and attach them to the prepared holes. We will form the pupils from black and white clay.
- Между глазами сделаем ряд шипов в виде небольших шариков.
- Let’s make the ears and fix them on the sides of the dragon’s head.
- For more similarity to the cartoon character, let’s add growths on the head.
- We will form the upper limbs in the form of long flattened cones.
- We attach the obtained legs to the body in such a way that they reach the surface on which the dragon sits.
- With a drop-shaped stack, make 3 indentations on each of the four legs. There will be claws. We will also make the nostrils on the head using the same stack.
- We roll the sharp claws of the dragon out of white clay and insert them into the holes made on the legs using a sharp stack-puncher. It is difficult to implement such a procedure manually, since it is possible inadvertently to shift future claws to the side.
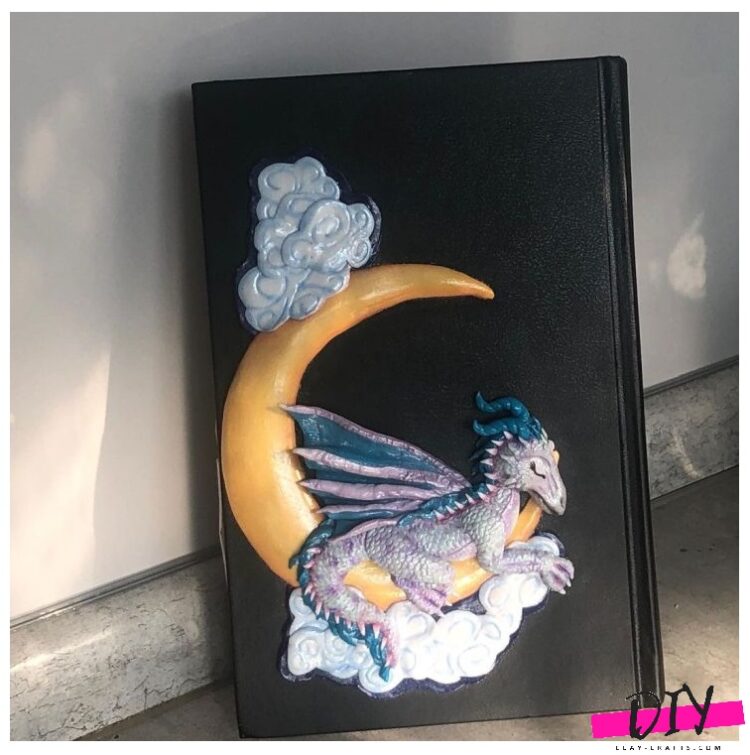
- Let’s make wings from black clay. To do this, you need to roll 2 flat parts that look like a sunflower seed, then cut 2 strips on the wide side of the wing using a plastic knife to make 3 equal segments. Separate one segment from the other and make them more rounded.
- For greater strength, we put the wings on toothpicks and inject them on the sides of the body at the neck level.
- We form the tail from a long piece of black clay, widened on one side. On the narrow side, we attach a part in the form of a semicircle, on which we cut (but not completely) small divisions. We attach the tail to the body so that it is at the level of the hind legs.

Additionally, you can decorate the dragon’s face with a fish tail attached at the level of the mouth. It can be made, for example, gray using a knife-shaped stack using a technique similar to paragraph 15.
Polymer Clay Dragons Clip Art