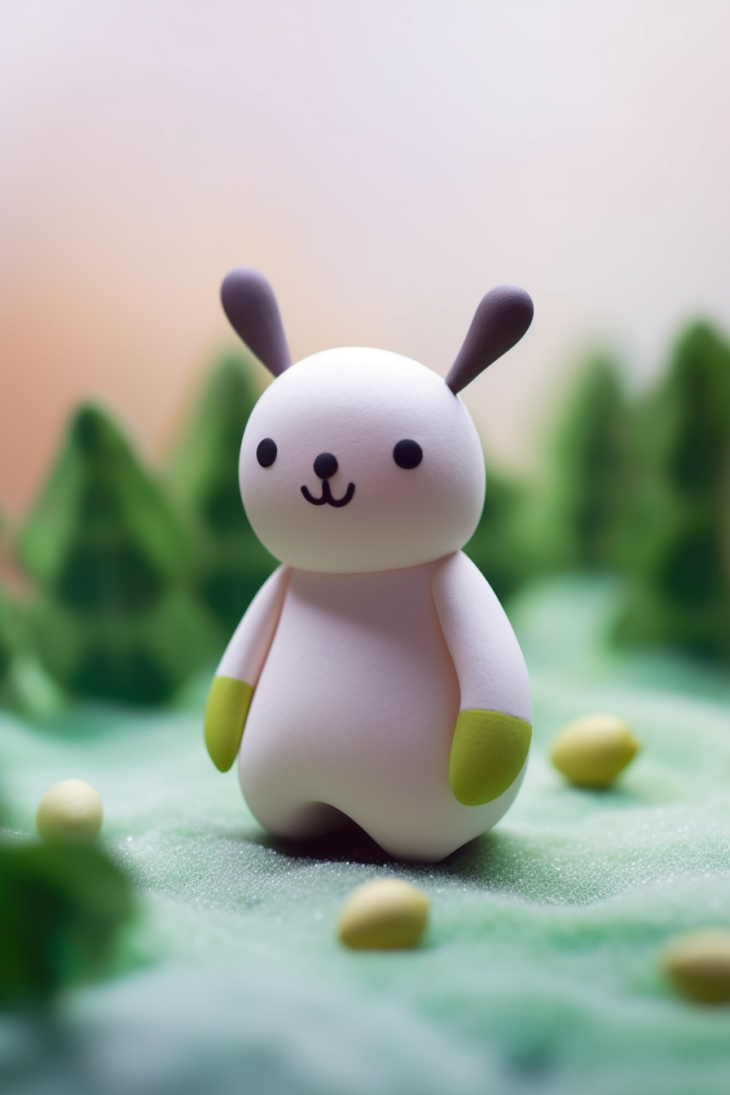
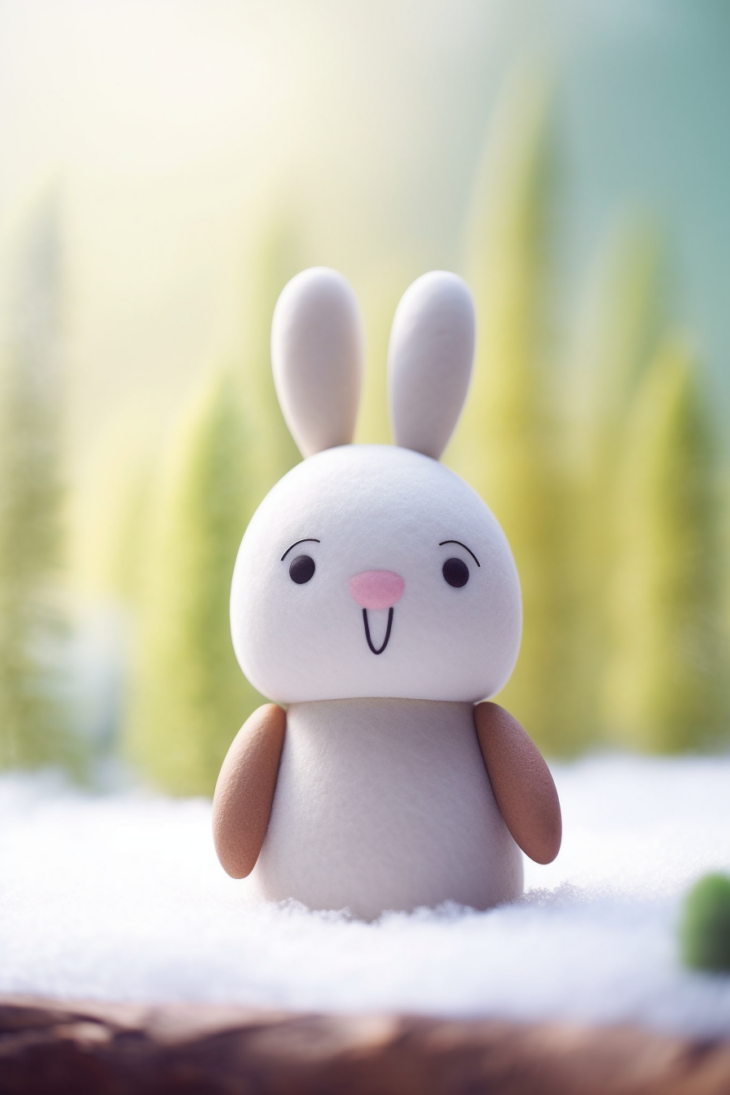
The art of sculpting with polymer clay allows artists to bring their imagination to life in a tangible and charming way. Among the many enchanting subjects that can be transformed into delightful sculptures, bunnies hold a special place in our hearts. In this comprehensive guide, we will delve into the process of sculpting an adorable bunny from polymer clay, revealing the techniques, materials, and intricate details involved in capturing the playful spirit of these beloved creatures.
To embark on this creative journey, gather the essential materials needed for polymer clay sculpting. Acquire various shades of polymer clay that will form the bunny’s body, head, and features. Additionally, collect sculpting tools, including blades, needle tools, ball styluses, and shaping tools, to shape and refine the clay. You will also need a work surface, an oven for baking the clay, and sandpaper for smoothing and refining the final sculpture.
Once your materials are ready, the first step is to condition the polymer clay. Knead and manipulate the clay until it becomes soft and pliable, ensuring that any air bubbles or inconsistencies are eliminated.
Begin by sculpting the bunny’s body, rolling and shaping a piece of clay into a cylindrical form. Pay attention to the proportions and curves, striving for a natural and whimsical appearance. Use sculpting tools to add texture and details, such as fur or folds in the bunny’s skin, to enhance the sculpture’s lifelike quality.
Next, shape the bunny’s head, considering the size and placement in relation to the body. Roll and mold clay into an oval shape, gently forming the bunny’s features, such as the eyes, nose, and mouth. Delicately sculpt the details, ensuring that they reflect the charm and innocence of a bunny’s face.
To create the bunny’s ears, roll out thin sheets of clay and cut out the desired ear shape. Attach the ears to the bunny’s head, using a small amount of liquid polymer clay or adhesive to secure them in place. Pay attention to the positioning and angles of the ears, as they can greatly contribute to the bunny’s overall expression and personality.
After the basic structure of the bunny is complete, it’s time to add those endearing finishing touches. Use sculpting tools to create fur-like texture, adding depth and realism to the sculpture. Add small details, such as whiskers or paws, that will enhance the bunny’s character and make it come to life.
Before baking the sculpture, take a moment to refine the edges and smooth out any imperfections using sandpaper or a fine-grit emery board. This step ensures a polished and professional finish to your bunny sculpture. Follow the baking instructions on your polymer clay’s packaging, as each brand may have specific recommendations for temperature and duration.
Once the bunny has cooled down, you can choose to enhance its charm with a touch of paint or varnish. Applying subtle colors can bring out the bunny’s features and add depth to the sculpture. A layer of varnish will provide a glossy finish, protecting the sculpture and intensifying the colors of the polymer clay.
With the completion of your polymer clay bunny sculpture, you have created a whimsical and adorable piece of art that will capture the hearts of all who see it. Display your creation on a shelf, as part of a nature-inspired diorama, or even incorporate it into jewelry designs. The possibilities are as boundless as your creativity.
Sculpting a bunny from polymer clay allows you to indulge in a playful and imaginative experience. Let your artistic skills flourish as you bring the spirit of these lovable creatures to life, and create a delightful sculpture that will bring joy and warmth to any space.