Polymer clay is a versatile and easy-to-use material that has become increasingly popular for creating miniature figures, dolls, and other small figurines. Whether you are a seasoned crafter or just starting out, polymer clay is an excellent choice for bringing your creative vision to life. In this article, we’ll explore the basics of polymer clay miniatures and doll making and provide tips and tricks for getting started.
The Benefits of Polymer Clay
Polymer clay is a lightweight, synthetic material that comes in a wide range of colors and is easy to shape and mold. Unlike traditional ceramics, polymer clay doesn’t require a kiln or any special tools, making it ideal for hobbyists and beginners. Additionally, the color of polymer clay is consistent throughout the material, so your creations will have a uniform look.
Getting Started with Polymer Clay Miniatures and Doll Making
Before you begin your first polymer clay project, it’s important to have the right tools and supplies on hand. You’ll need:
- Polymer clay in the colors of your choice;
- A work surface, such as a silicone mat or a piece of wax paper;
- A rolling pin or acrylic block;
- Craft knife or scissors;
- Oven or toaster oven for baking the clay.
When working with polymer clay, it’s important to keep your work surface clean and free of debris. You’ll also want to make sure your hands are clean and free of oils, which can interfere with the clay’s adhesion.
Shaping and Sculpting Polymer Clay
One of the most exciting aspects of polymer clay miniatures and doll making is the ability to shape and sculpt the clay into any form you can imagine. To begin, take a small ball of clay and roll it between your palms to create a smooth, round shape. Then, use your rolling pin or acrylic block to flatten the ball into a disk.
Next, you can use your fingers or a craft tool to sculpt the clay into your desired shape. For finer details, use a craft knife or scissors to make cuts and indentations in the clay. As you work, it’s important to remember that polymer clay can be re-molded and re-shaped until you’re happy with your final product.
Baking and Curing the Clay
Once your miniature or doll is complete, it’s time to bake and cure the clay. Polymer clay should be baked in an oven or toaster oven at 265°F for 15 minutes per ¼ inch of thickness. Be sure to place your clay on a baking sheet lined with parchment paper to prevent sticking.
After baking, it’s important to let the clay cool completely before handling it. This will ensure that the clay retains its shape and durability.
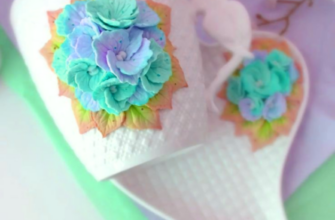
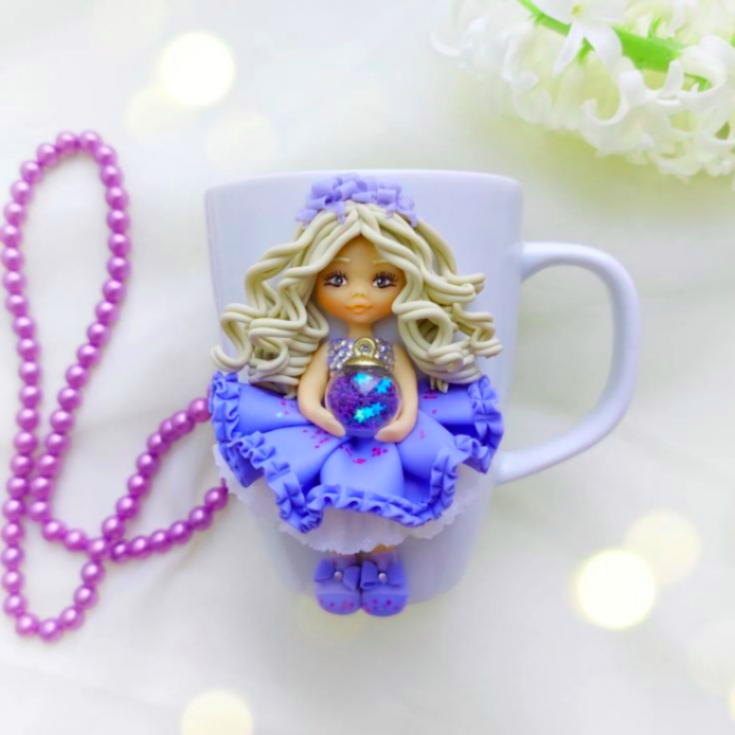
Polymer Clay Miniatures and Doll Making Ideas
There are endless possibilities when it comes to creating polymer clay miniatures and dolls. Some popular projects include:
- Dolls and action figures
- Miniature food and drinks
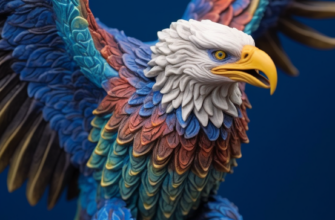
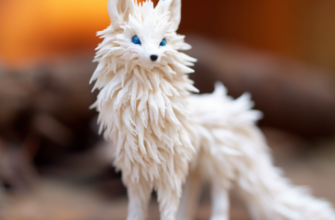
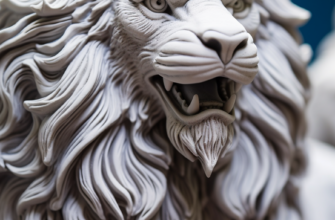
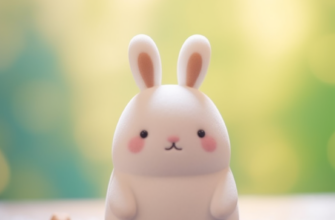
- Animals and creatures
- Jewelry and accessories
- Decorative objects for your home or office
Whether you’re looking to create something unique for yourself or as a gift for someone else, polymer clay miniatures and doll making is a fun and rewarding hobby. With a little imagination and some patience, you can create beautiful and detailed pieces that will bring joy for years to