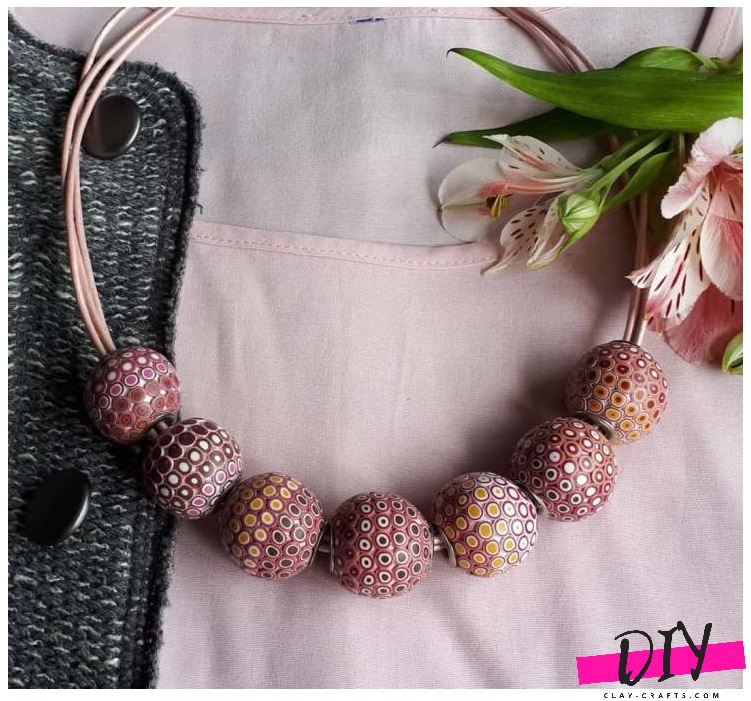
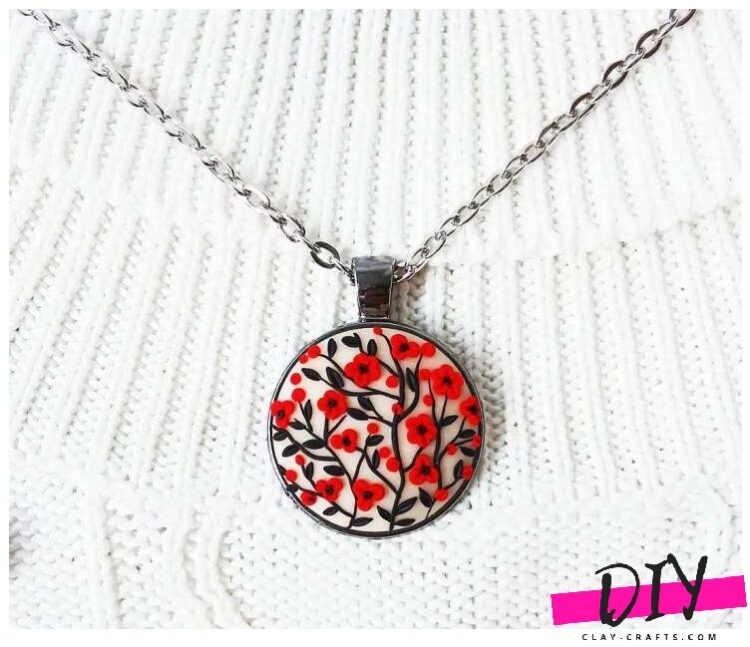
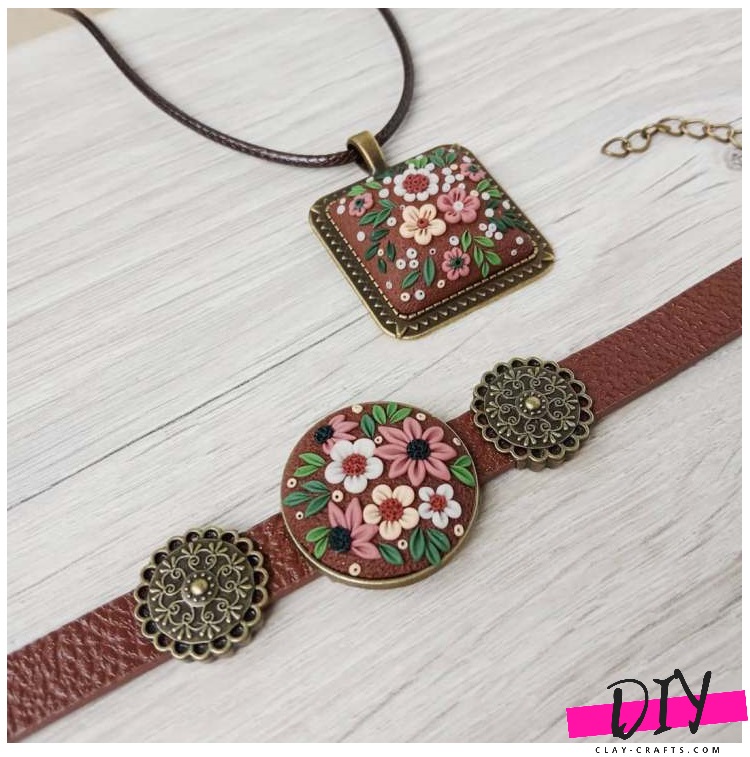
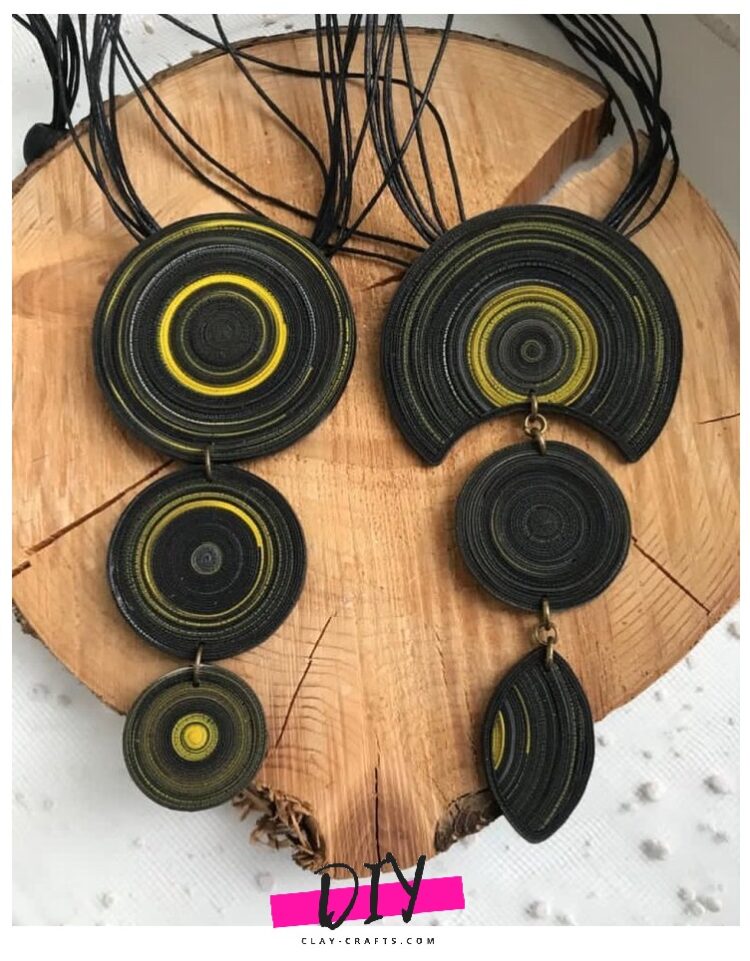
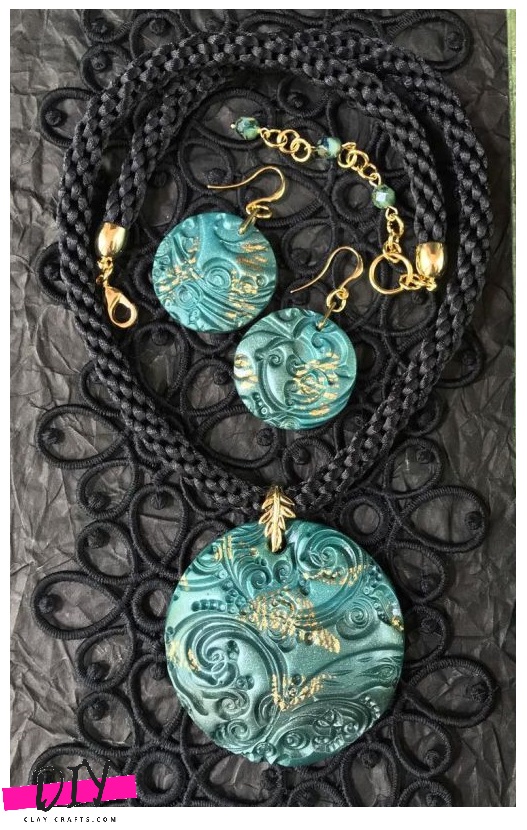
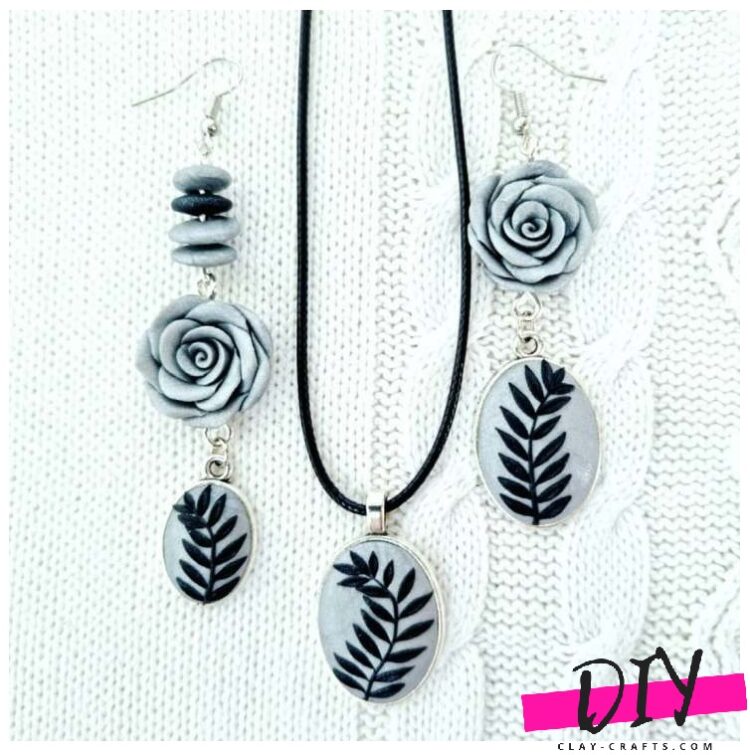
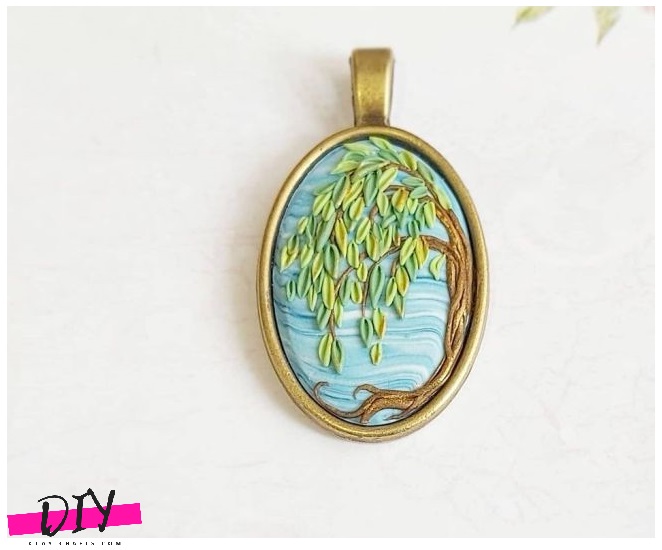
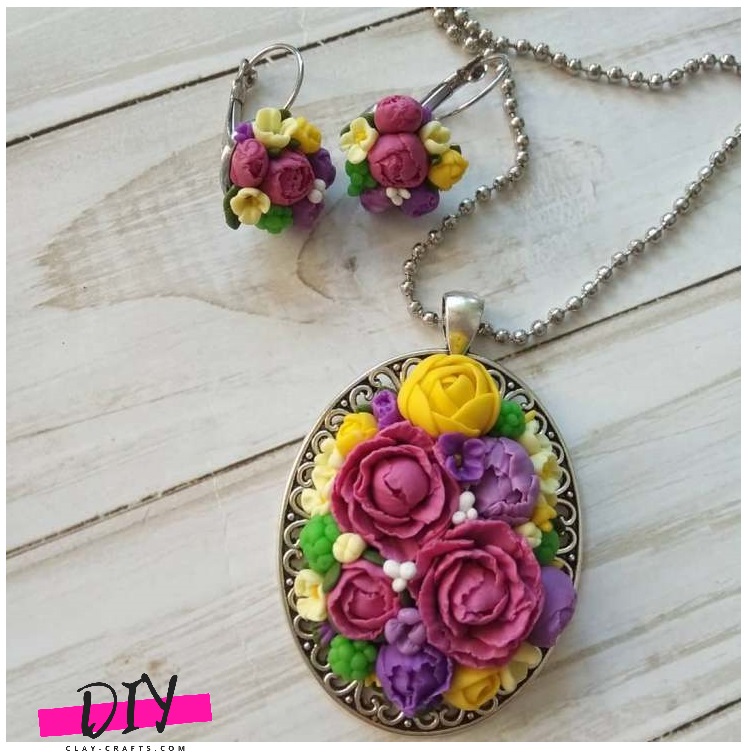
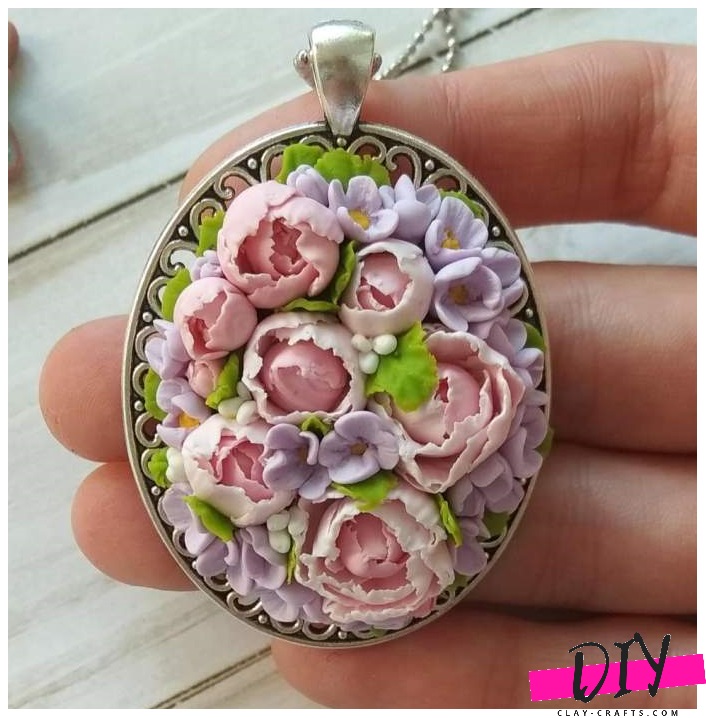
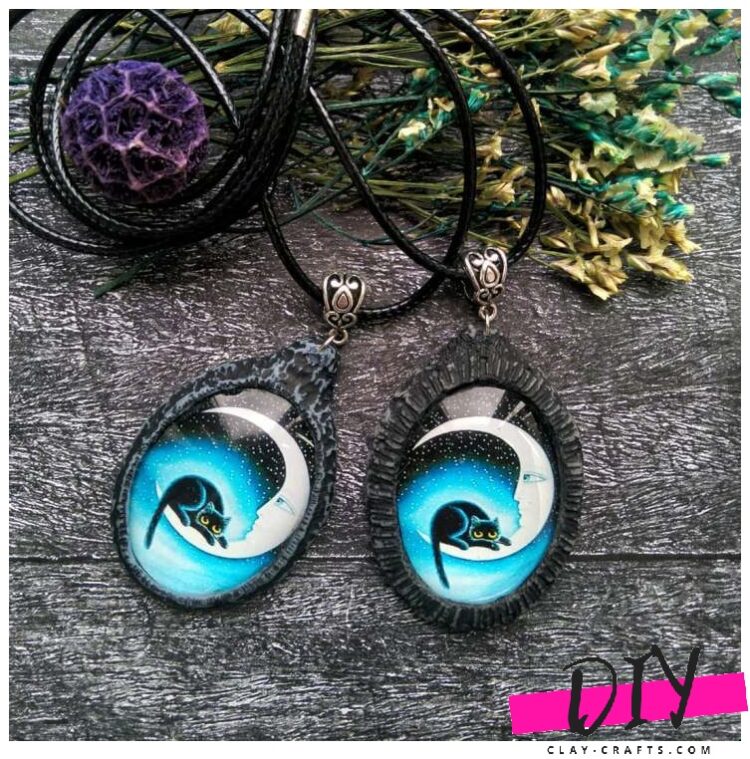
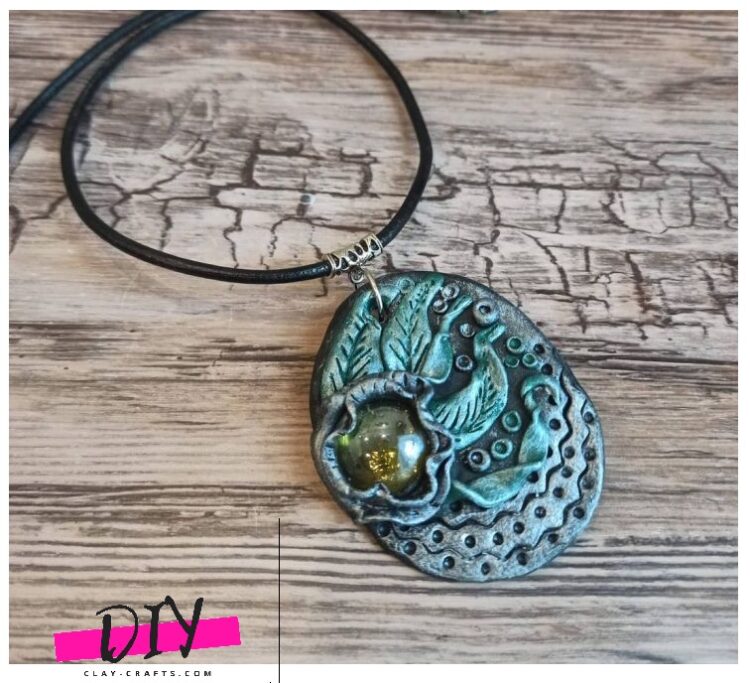
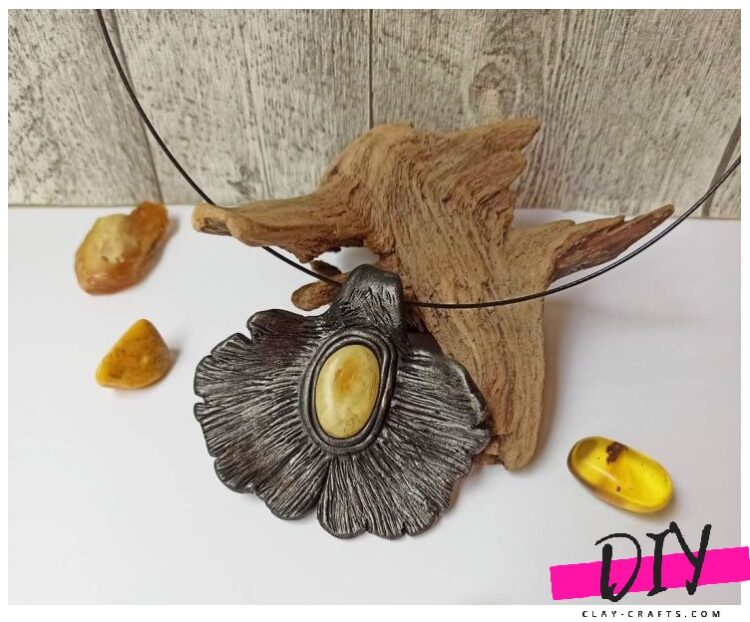
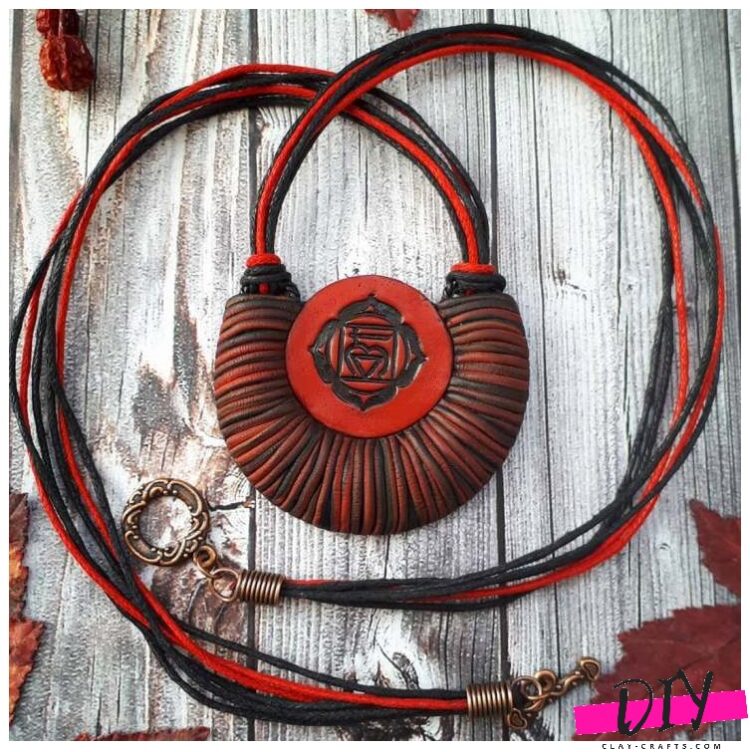
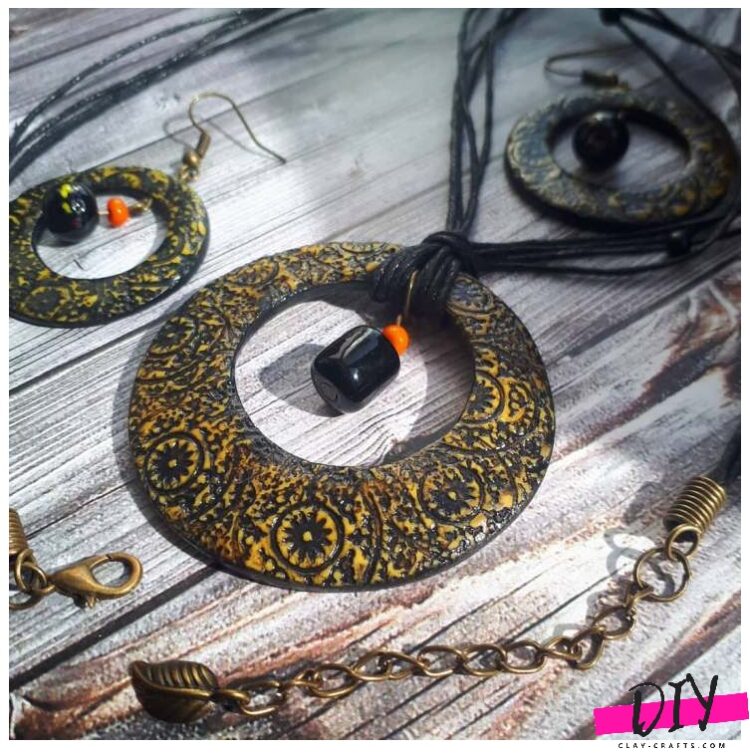
Bright, catchy and modern clay pendants and pendants can actually be made with your own hands – and quite easily. We will tell you how to please yourself with clay, a small amount of black epoxy and a couple of hours of work.


Tools and materials
- For a pendant or pendant, we need:
- Clay – bright and black
- Epoxy resin
- Glitter powders are black and still the same bright color as in the clay set.
- Glue – preferably superglue or something strong enough.
- Silicone mold with round cells of different sizes
- Patterned stencil – special
- Silicone brush
- Spoke (metal)
- Stack or cutter
Making a pendant from polymer clay
Cooking resin – it is best to immediately buy a liquid one. So far, the epoxy should have a natural color. We send it to the cell, the smallest, or rather the smallest, filling in no more than 1/3 of the total thickness. When the resin has already slightly hardened, but the surface is still a little sticky, prepare a bright shine. We rub it into the surface of the future pendant, not yet made of clay, gently, so that no fingerprints remain, we rub it. We grind, then blow out the excess that is not fixed on the surface. In the meantime, mix a little resin with the powder, only black. We fill the blank with this to the end and already let it freeze completely.


Remove from the mold, prepare the resin. We cover the surface with another layer of black epoxy with a brush, cover the surface with dishes to avoid contamination and leave.
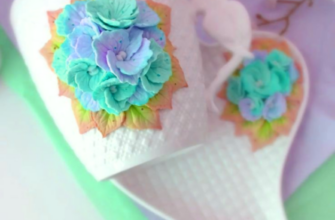
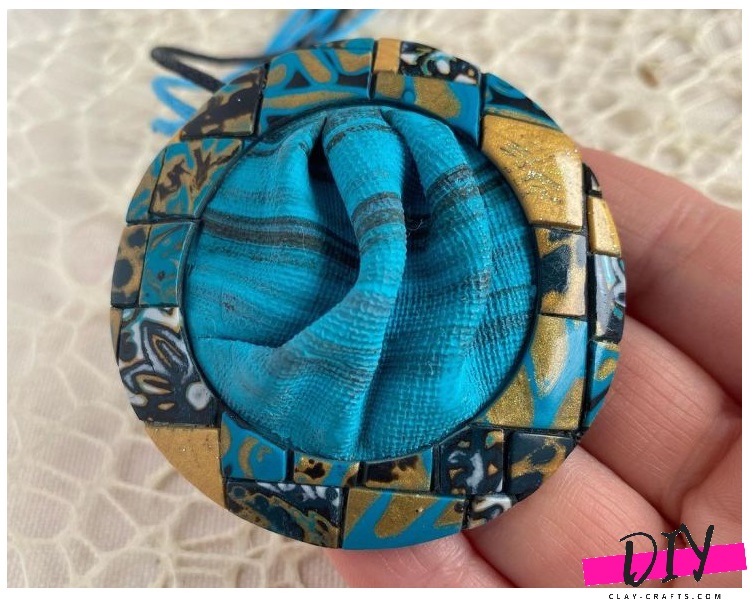
Now a pendant, or rather a part of it, is being prepared from clay. Roll out the black one with a thickness of about 5 mm, and cut out a square. We take a stencil, always with a rather thin pattern, and put a layer of black resin on it. Sprinkle the surface with bright powder, rub in like last time, so that there is a layer of sparkles in the holes. We remove from the stencil, and rinse with water so that it does not dry out. Cut out the base for the pendant – the blank is shaped like a donut with the hole located off the center. It is best to use molds for this. The hole in the center must match the size of the first piece.

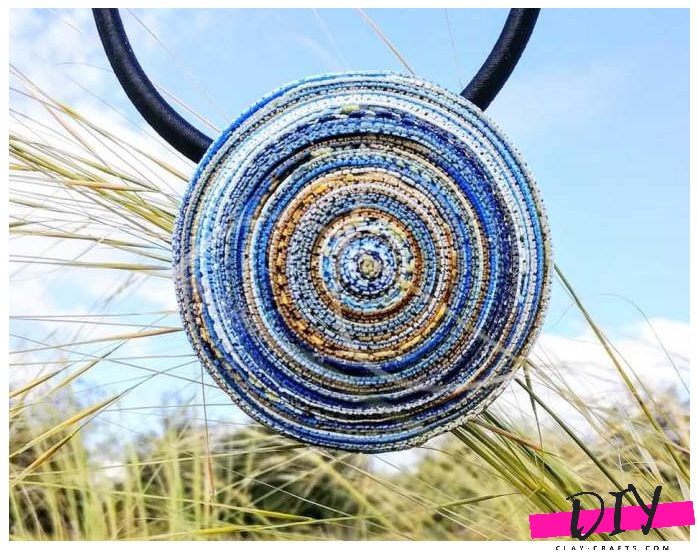
We place it on a dish or in a bowl so that there is a slightly concave shape inside, and always in a heat-resistant one, so that it can be baked in it later. We bake. After baking on the back, place a plate of clay – black, and the hole on that side will be closed. We roll out the bright clay, cut it using the blank as a template. Smooth the edges. On the reverse side, we make a mount – we put a knitting needle, attach plastic on top, and so we send to bake.


We grease the deepening with glue and glue the very first bright workpiece. We thread the lace, wear it and rejoice.

We hope you liked our ideas and share them with your friends)))