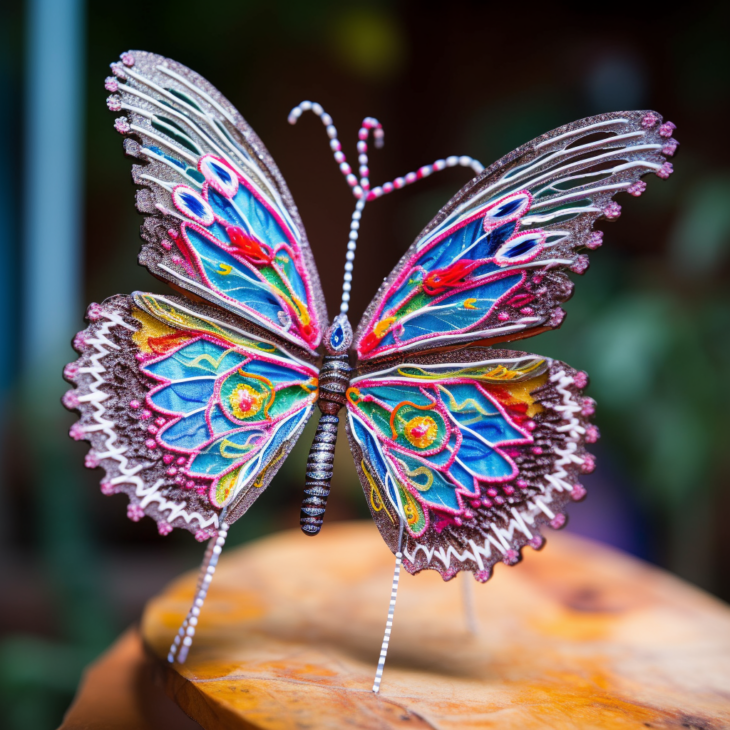
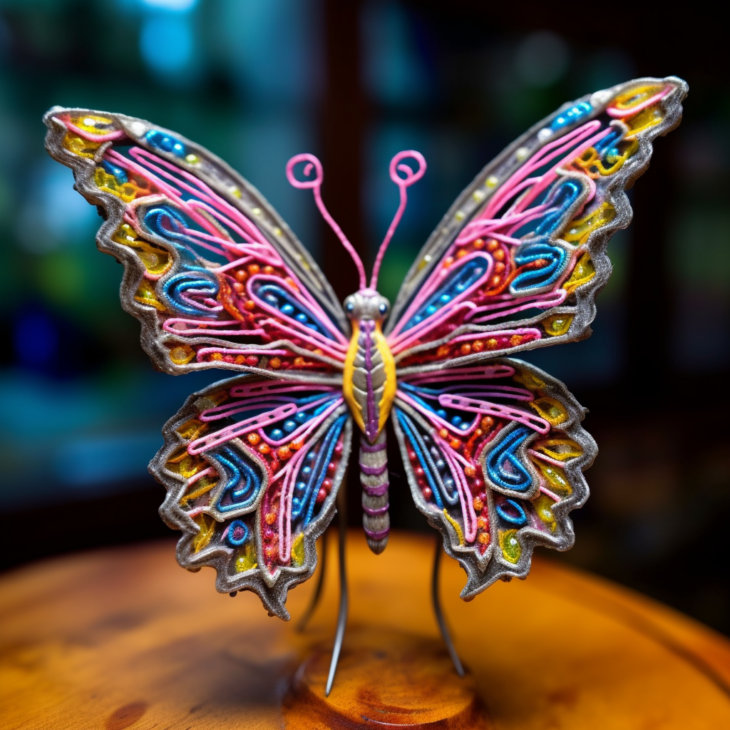
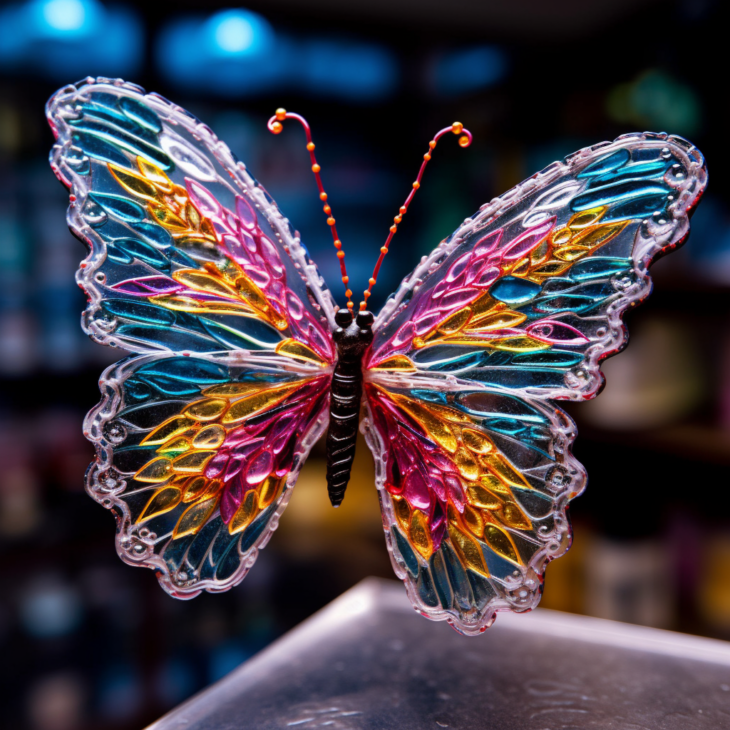
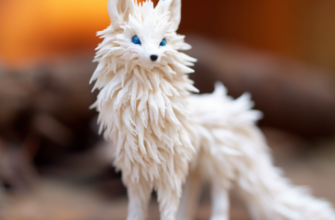
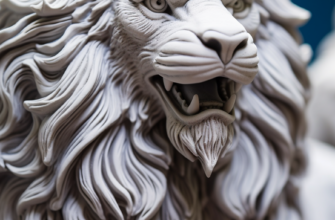
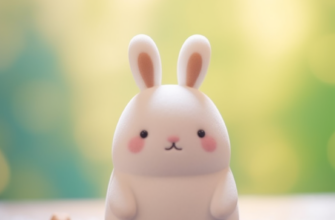
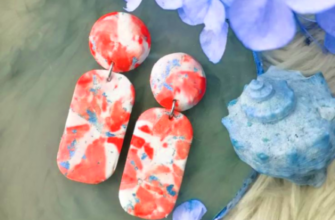
The art of sculpting with polymer clay offers endless possibilities for creating intricate and captivating designs. Among the numerous subjects that can be brought to life with this versatile medium, butterflies hold a special place. With their delicate wings and vibrant colors, butterflies are a popular choice for polymer clay artists looking to showcase their skills and create awe-inspiring pieces.
To begin your journey into crafting a butterfly from polymer clay, you will need a few essential materials. Firstly, gather various colors of polymer clay that will form the body and wings of your butterfly. You will also need sculpting tools, such as a blade, needle tool, and ball stylus, to shape and detail the clay. A work surface, an oven for baking the clay, and sandpaper for smoothing out rough edges are also essential.
Once you have assembled your materials, it’s time to get creative! Start by conditioning the clay, which involves kneading it until it becomes soft and pliable. This step ensures that the clay is easy to work with and eliminates any air bubbles or inconsistencies.
Next, shape the body of the butterfly by rolling a small amount of clay into a smooth, elongated form. Pay attention to the proportions and curves of the body to achieve a realistic and aesthetically pleasing result. Use your sculpting tools to add texture and detail, such as creating grooves to mimic the segments of a butterfly’s body.
Now comes the exciting part: creating the wings. Select colors that harmonize and complement each other, and roll out thin sheets of clay using a rolling pin or pasta machine. Cut out the wing shapes using a template or freehand, keeping in mind the size and symmetry of the wings. To add dimension and realism, gently fold and shape the wings, creating gentle curves and bends that mimic the natural movement of a butterfly.
To attach the wings to the body, apply a small amount of liquid polymer clay or a compatible adhesive to the designated area and carefully press the wings into place. Pay attention to the positioning and angle of the wings, as this will greatly influence the overall look of the sculpture.
Now that the basic structure of the butterfly is complete, it’s time to add intricate details and finishing touches. Use your sculpting tools to create patterns on the wings, such as lines, dots, or even intricate designs reminiscent of the butterfly species you wish to depict. Don’t be afraid to experiment and let your imagination run wild.
Before baking the sculpture, make sure to refine the edges and smooth out any imperfections using sandpaper or a fine-grit emery board. This step will ensure a polished and professional finish. Follow the instructions on your polymer clay’s packaging to bake the sculpture in the oven at the recommended temperature and duration.
Once the butterfly has cooled down, you can further enhance its beauty with the application of varnish or glaze. This step adds a glossy finish, protects the sculpture, and intensifies the colors of the polymer clay. Apply the varnish with a soft brush, allowing it to dry completely between coats for a flawless result.
Voila! Your polymer clay butterfly is complete, ready to dazzle and delight all who behold it. Display your creation in a shadow box, frame it as a unique art piece, or incorporate it into jewelry or mixed-media projects. The possibilities are as limitless as your imagination.
Crafting a butterfly from polymer clay is not just an art form but also a therapeutic and rewarding experience. As you sculpt and shape the clay, you’ll find yourself immersed in a world of creativity, where colors and textures blend harmoniously to create a captivating masterpiece.
So, unleash your creativity, gather your materials, and embark on a journey into the world of polymer clay art. Let the delicate beauty of a butterfly guide your hands as you craft a stunning sculpture that will capture the imagination and inspire others to embark on their own artistic endeavors.
