The art of sculpting with polymer clay opens up a world of possibilities for artists to bring their creative visions to life. Among the enchanting subjects that can be transformed into intricate sculptures, foxes exude an alluring elegance that captures our imagination. In this comprehensive guide, we will embark on a captivating journey, unraveling the secrets to sculpting a lifelike fox from polymer clay, and uncovering the techniques and nuances required to capture the essence of these cunning creatures.
To embark on this artistic adventure, gather the essential materials for polymer clay sculpting. Acquire various shades of polymer clay that will form the fox’s body, fur, and features. Additionally, collect sculpting tools such as blades, needle tools, ball styluses, and shaping tools, to shape and refine the clay. A work surface, an oven for baking the clay, and sandpaper for refining edges are also essential for a smooth sculpting process.
Once your materials are prepared, the first step is to condition the polymer clay. Knead and manipulate the clay until it becomes soft and pliable, ensuring that any air bubbles or inconsistencies are eliminated.
Begin by sculpting the fox’s body, rolling and shaping a piece of clay into a basic form that represents the underlying structure. Pay close attention to the proportions and elegant lines, striving to capture the grace and agility of a fox. Use sculpting tools to add depth and texture to the body, creating realistic contours and muscle definition.
Next, focus on the fox’s face, as it plays a crucial role in capturing its essence. Mold a piece of clay into an elongated shape, representing the snout, and attach it to the body. Shape the eyes, nose, and mouth using precise sculpting tools, ensuring that they reflect the fox’s characteristic features. Pay attention to the delicate details, such as the shape of the eyes and the positioning of the ears, as they greatly contribute to the sculpture’s lifelike appearance.
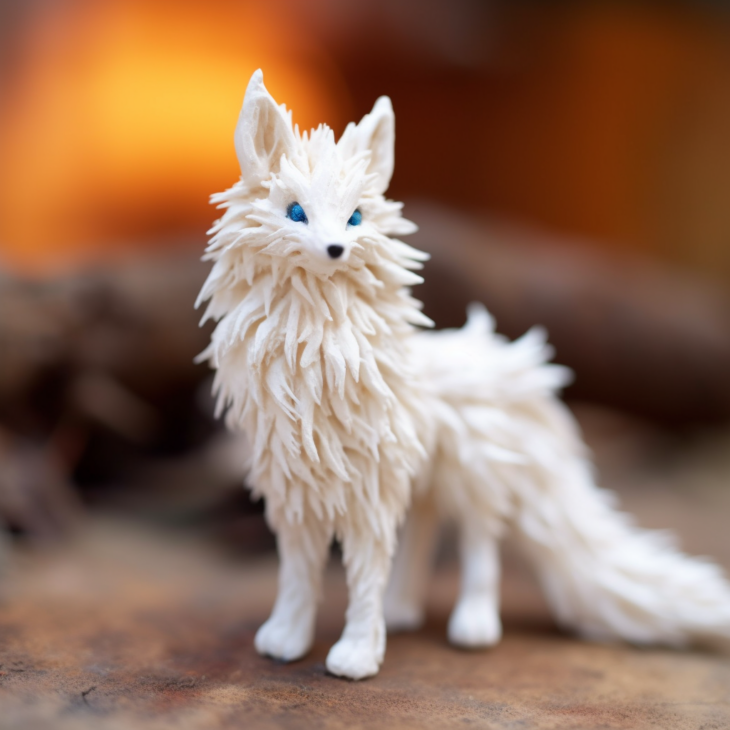
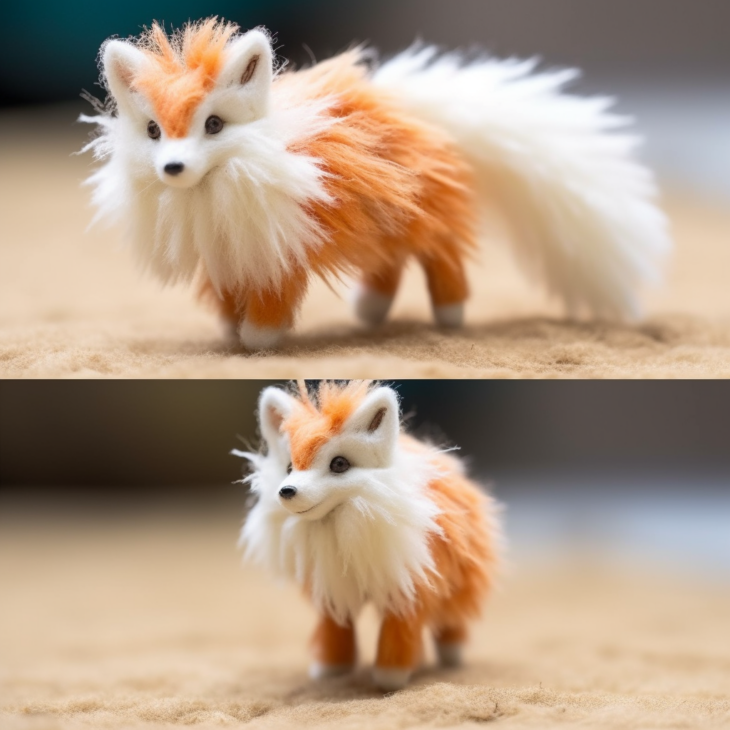
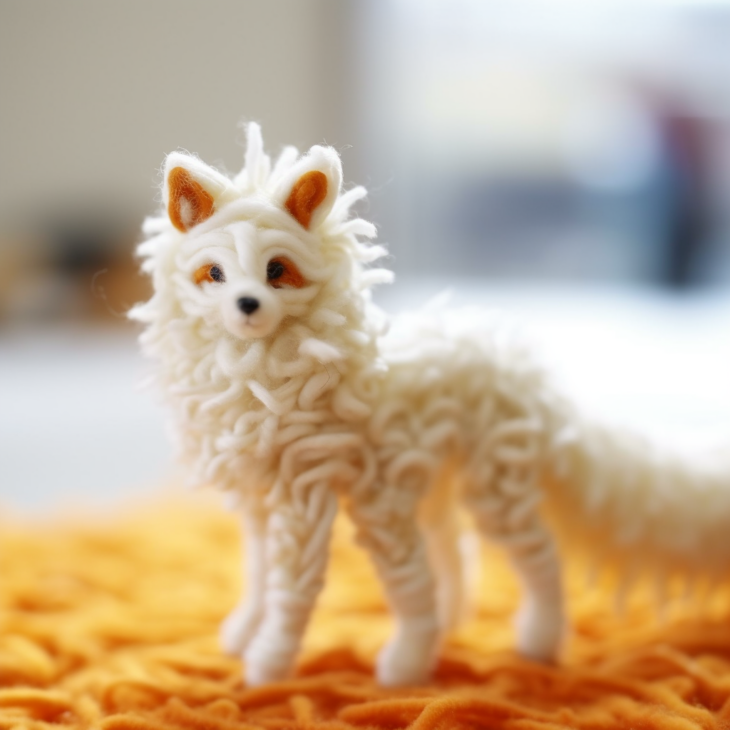
To create the fox’s captivating fur, roll out thin sheets of clay in appropriate colors and cut them into small, triangular or pointed shapes. Attach the fur pieces to the body using a small amount of liquid polymer clay or adhesive, layering and arranging them in a manner that mimics the flowing and dynamic nature of a fox’s fur. Take your time to create a sense of movement and realism, allowing the fur to add depth and character to the sculpture.
As you refine the fox’s features and fur, use sculpting tools to create fine lines and textures, bringing out the intricacies of the sculpture. Take extra care to add details such as whiskers, paws, and claws, as they will contribute to the fox’s lifelike presence.
Before baking the sculpture, review the overall composition and make any necessary adjustments to ensure the desired look. Follow the baking instructions provided by the polymer clay manufacturer to cure the sculpture in the oven. Baking temperatures and durations may vary, so it’s important to follow the specific guidelines for the brand you are using.
Once the fox has cooled, you can enhance its beauty with the application of paint or varnish. Adding subtle colors and shading can bring out the fox’s features and create depth in the sculpture. A layer of varnish will provide a glossy finish, protecting the sculpture and intensifying the colors of the polymer clay.
With the completion of your polymer clay fox sculpture, you have crafted a captivating masterpiece that captures the elegance and allure of these cunning creatures. Display your creation with pride, whether as a centerpiece in your home, a unique gift for a fellow art lover, or as a cherished addition to your collection.
Sculpting a fox from polymer clay is not just an artistic endeavor; it is an opportunity to celebrate the captivating beauty of nature and explore your own creative potential. Unleash your imagination, and let the grace and charm of the fox inspire you to create an extraordinary sculpture that will leave a lasting impression.
